|
This document describes version 5 of Unblu. If you’re using the latest major version of Unblu, go to the documentation of the latest version. The support period for version 5 ended on 22 November 2021. We no longer provide support or updates for this version. You should upgrade to the latest version of Unblu. |
Creating Agent Desk users
In order to create users you must have (at least) Supervisor privileges, and to create teams you must have (at least) Admin user rights. (This means that, to get started, you may require the Super Admin to create an appropriate role for you. Remember that it is easy to change a user’s role, if required.)
-
From the main (left) menu select Users. The Users page displays. (The first time you do this the page will be empty. If you do not see the left menu click on the three lines (
 ) and the menu will slide in from the left.)
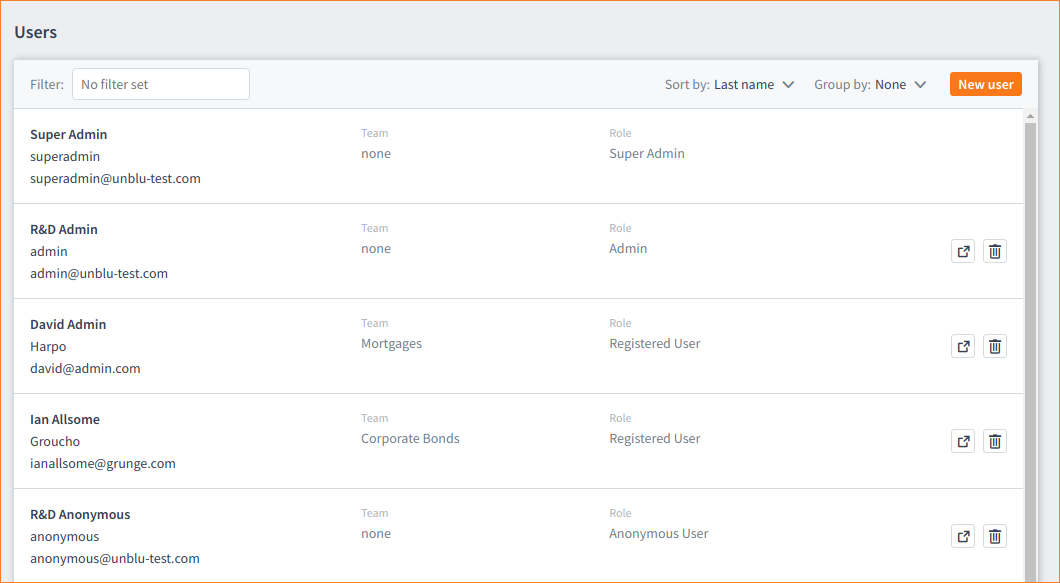
-
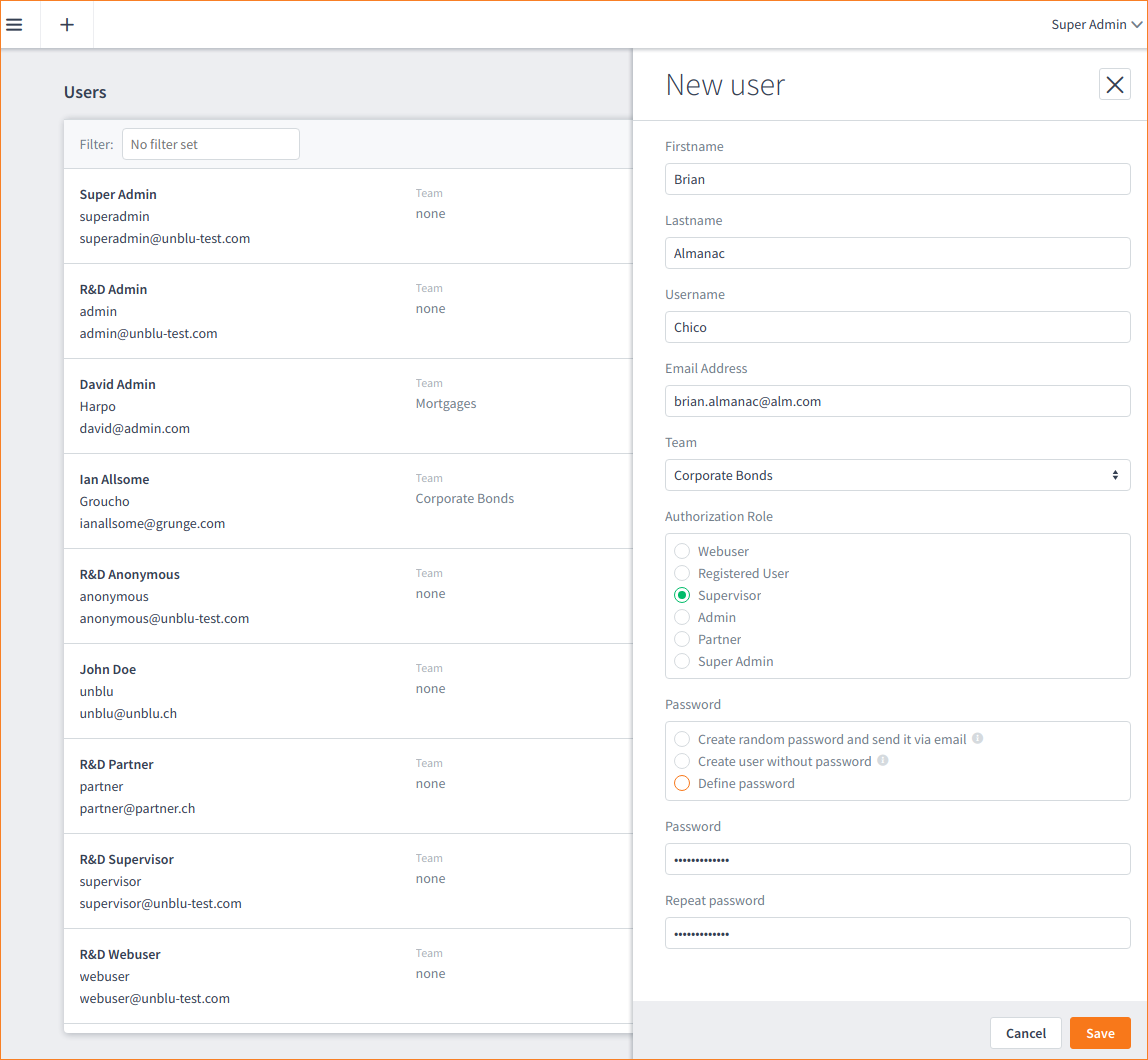
Select the New user button. The New user modal page slides in from the right.
-
Fill-in the fields. You can leave the Teams field empty (-) for now.
Note that you will see a subset of the Authorization Role(s) if you are not a Super Admin. Each role can create users at the level below their own level. (Registered users cannot create other users.)
The three roles you will use the most are Admin, Supervisor, and Registered User. Indeed, these three roles may be the only roles you ever need to define. For general business purposes an Admin user would define (create/edit) most of your agents at the Registered User credentials level. This will hide the complexity of the more advanced options and allow your users (agents) to serve your visitors without worrying about any setup.
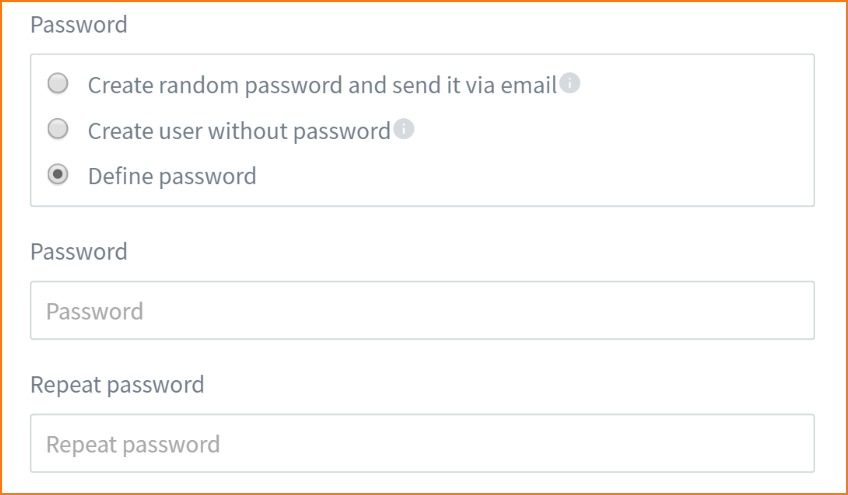
There are three password options:
-
Create random password and send it via email
-
Create user without password
-
Define password
-
-
If you select the Define Password option two more input fields display where you can enter the password.
-
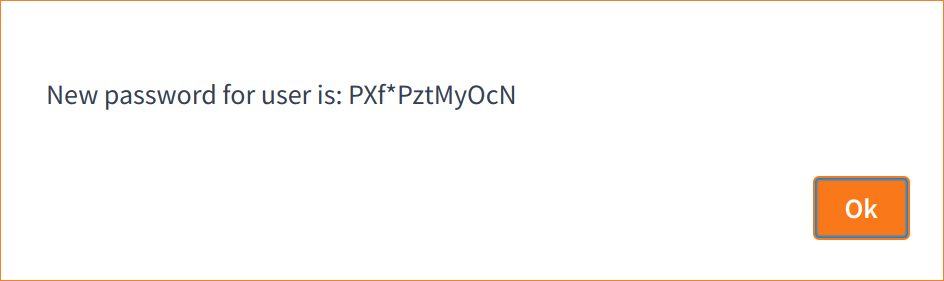
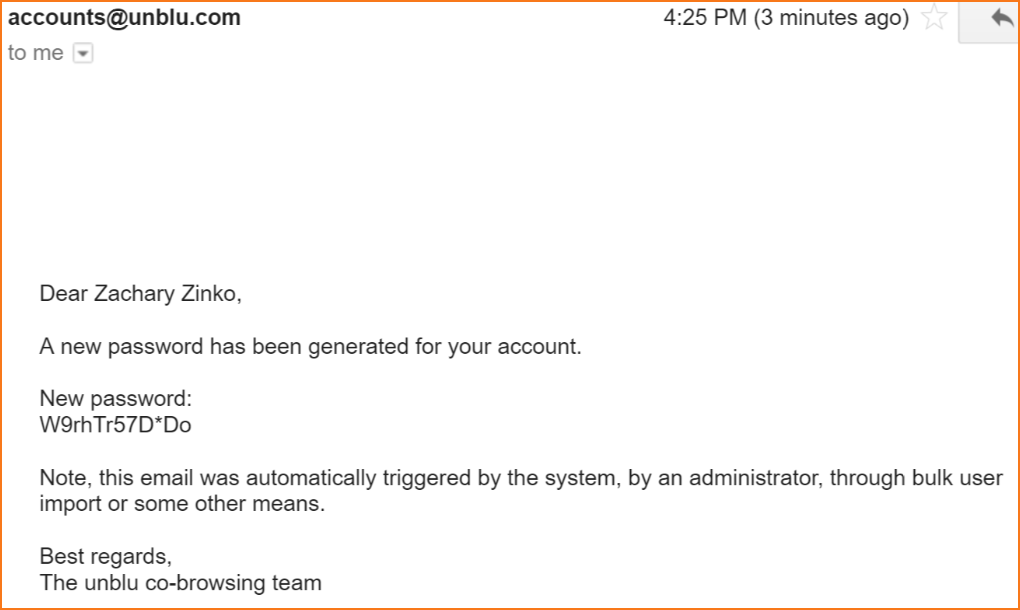
If you select Create random password and send it via email a message is displayed informing you of the password sent to the user.
-
Click OK to close the password message.
At the same time the user is sent an email with the generated password.
-
When you are done defining user information click Save and then click (
 ) to close the modal page. The new user displays immediately in the Users list.
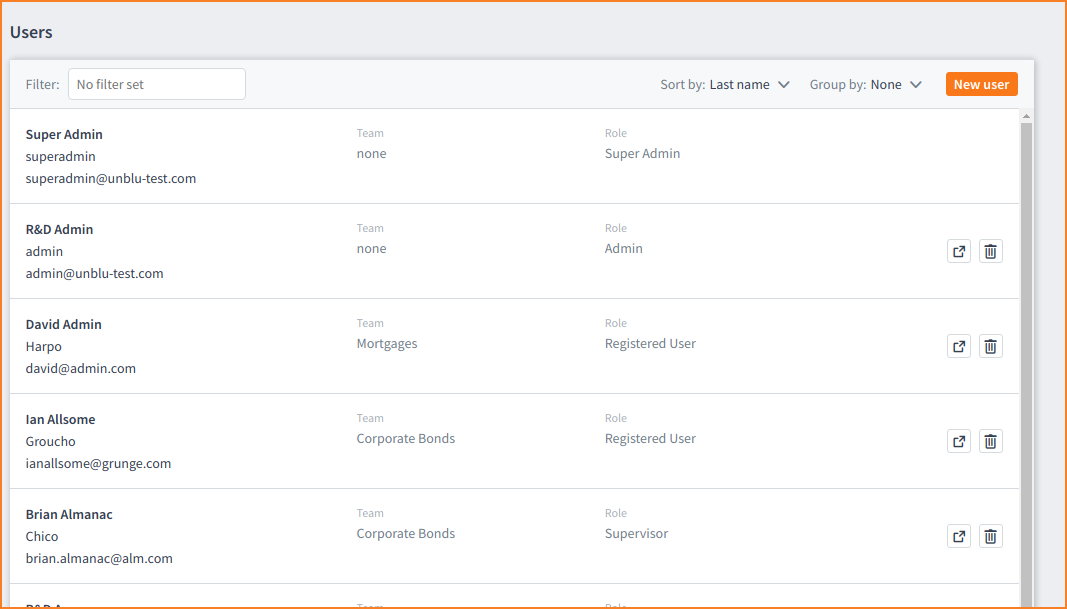
Deleting and editing users
You can delete (![]() ) user definitions using the trashcan icon.
) user definitions using the trashcan icon.
If you want to edit the user click on the user entry.
The Filter field at the top of the page, and the Group by and Sort by drop-down lists help you to organize the view. The Filter field displays matches with whatever you type while the Group by and Sort by fields allow you to order search results.
The square with an arrow icon (![]() ) is a special feature that allows Super Admins to impersonate another role. This is useful for Super Admins who may want to be able to see what their Admin, Supervisor or Registered Users see. But note that impersonating a role means your credentials will change (temporarily). This icon is only visible to Super Admins. In order to retrieve your proper role you need only to log out and then log back in with your proper credentials (your user name and password).
) is a special feature that allows Super Admins to impersonate another role. This is useful for Super Admins who may want to be able to see what their Admin, Supervisor or Registered Users see. But note that impersonating a role means your credentials will change (temporarily). This icon is only visible to Super Admins. In order to retrieve your proper role you need only to log out and then log back in with your proper credentials (your user name and password).
After creating users you may want to create teams.